Easy Stained Glass flowers: A Beginner’s Guide
Stained glass art, with its vibrant colors and mesmerizing play of light, can seem daunting to the beginner. However, creating beautiful stained glass flowers is surprisingly accessible, even if you’ve never worked with glass before. This comprehensive guide will walk you through the process, from gathering your supplies to adding the finishing touches, empowering you to create your own stunning floral masterpieces.
Choosing Your Flower Design
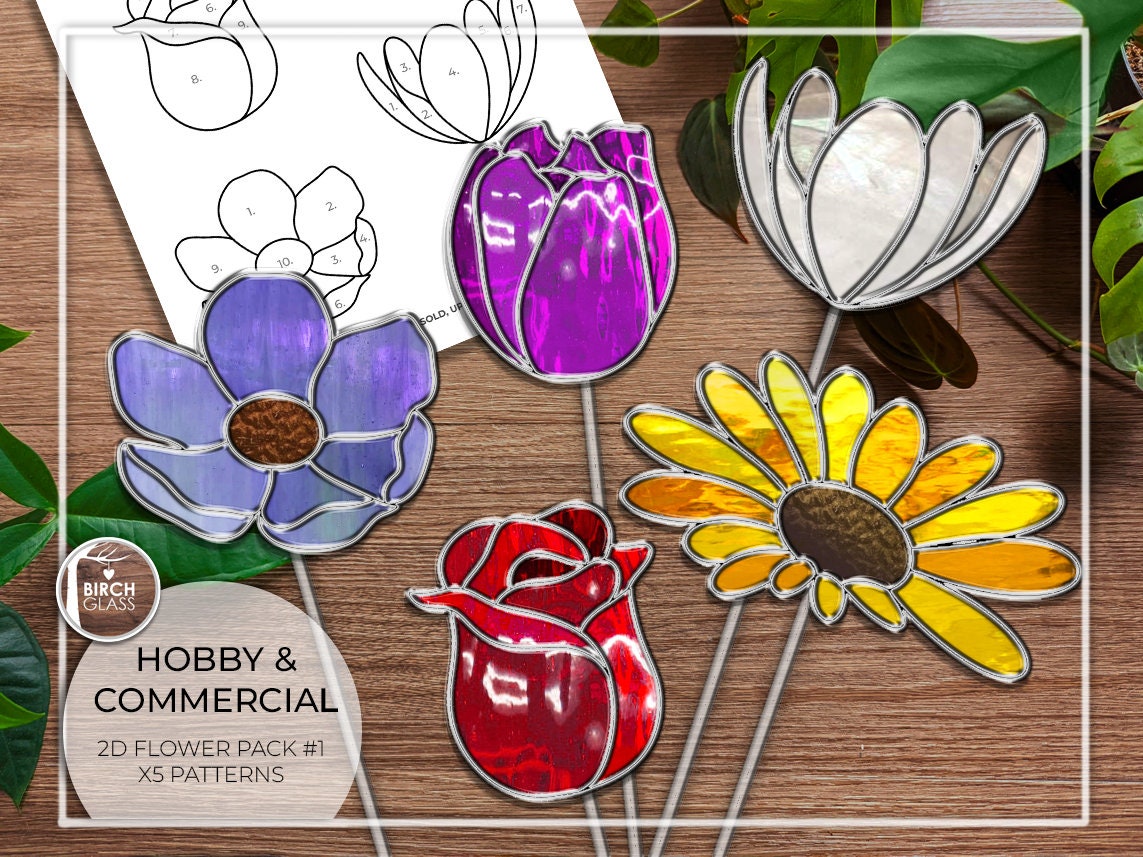
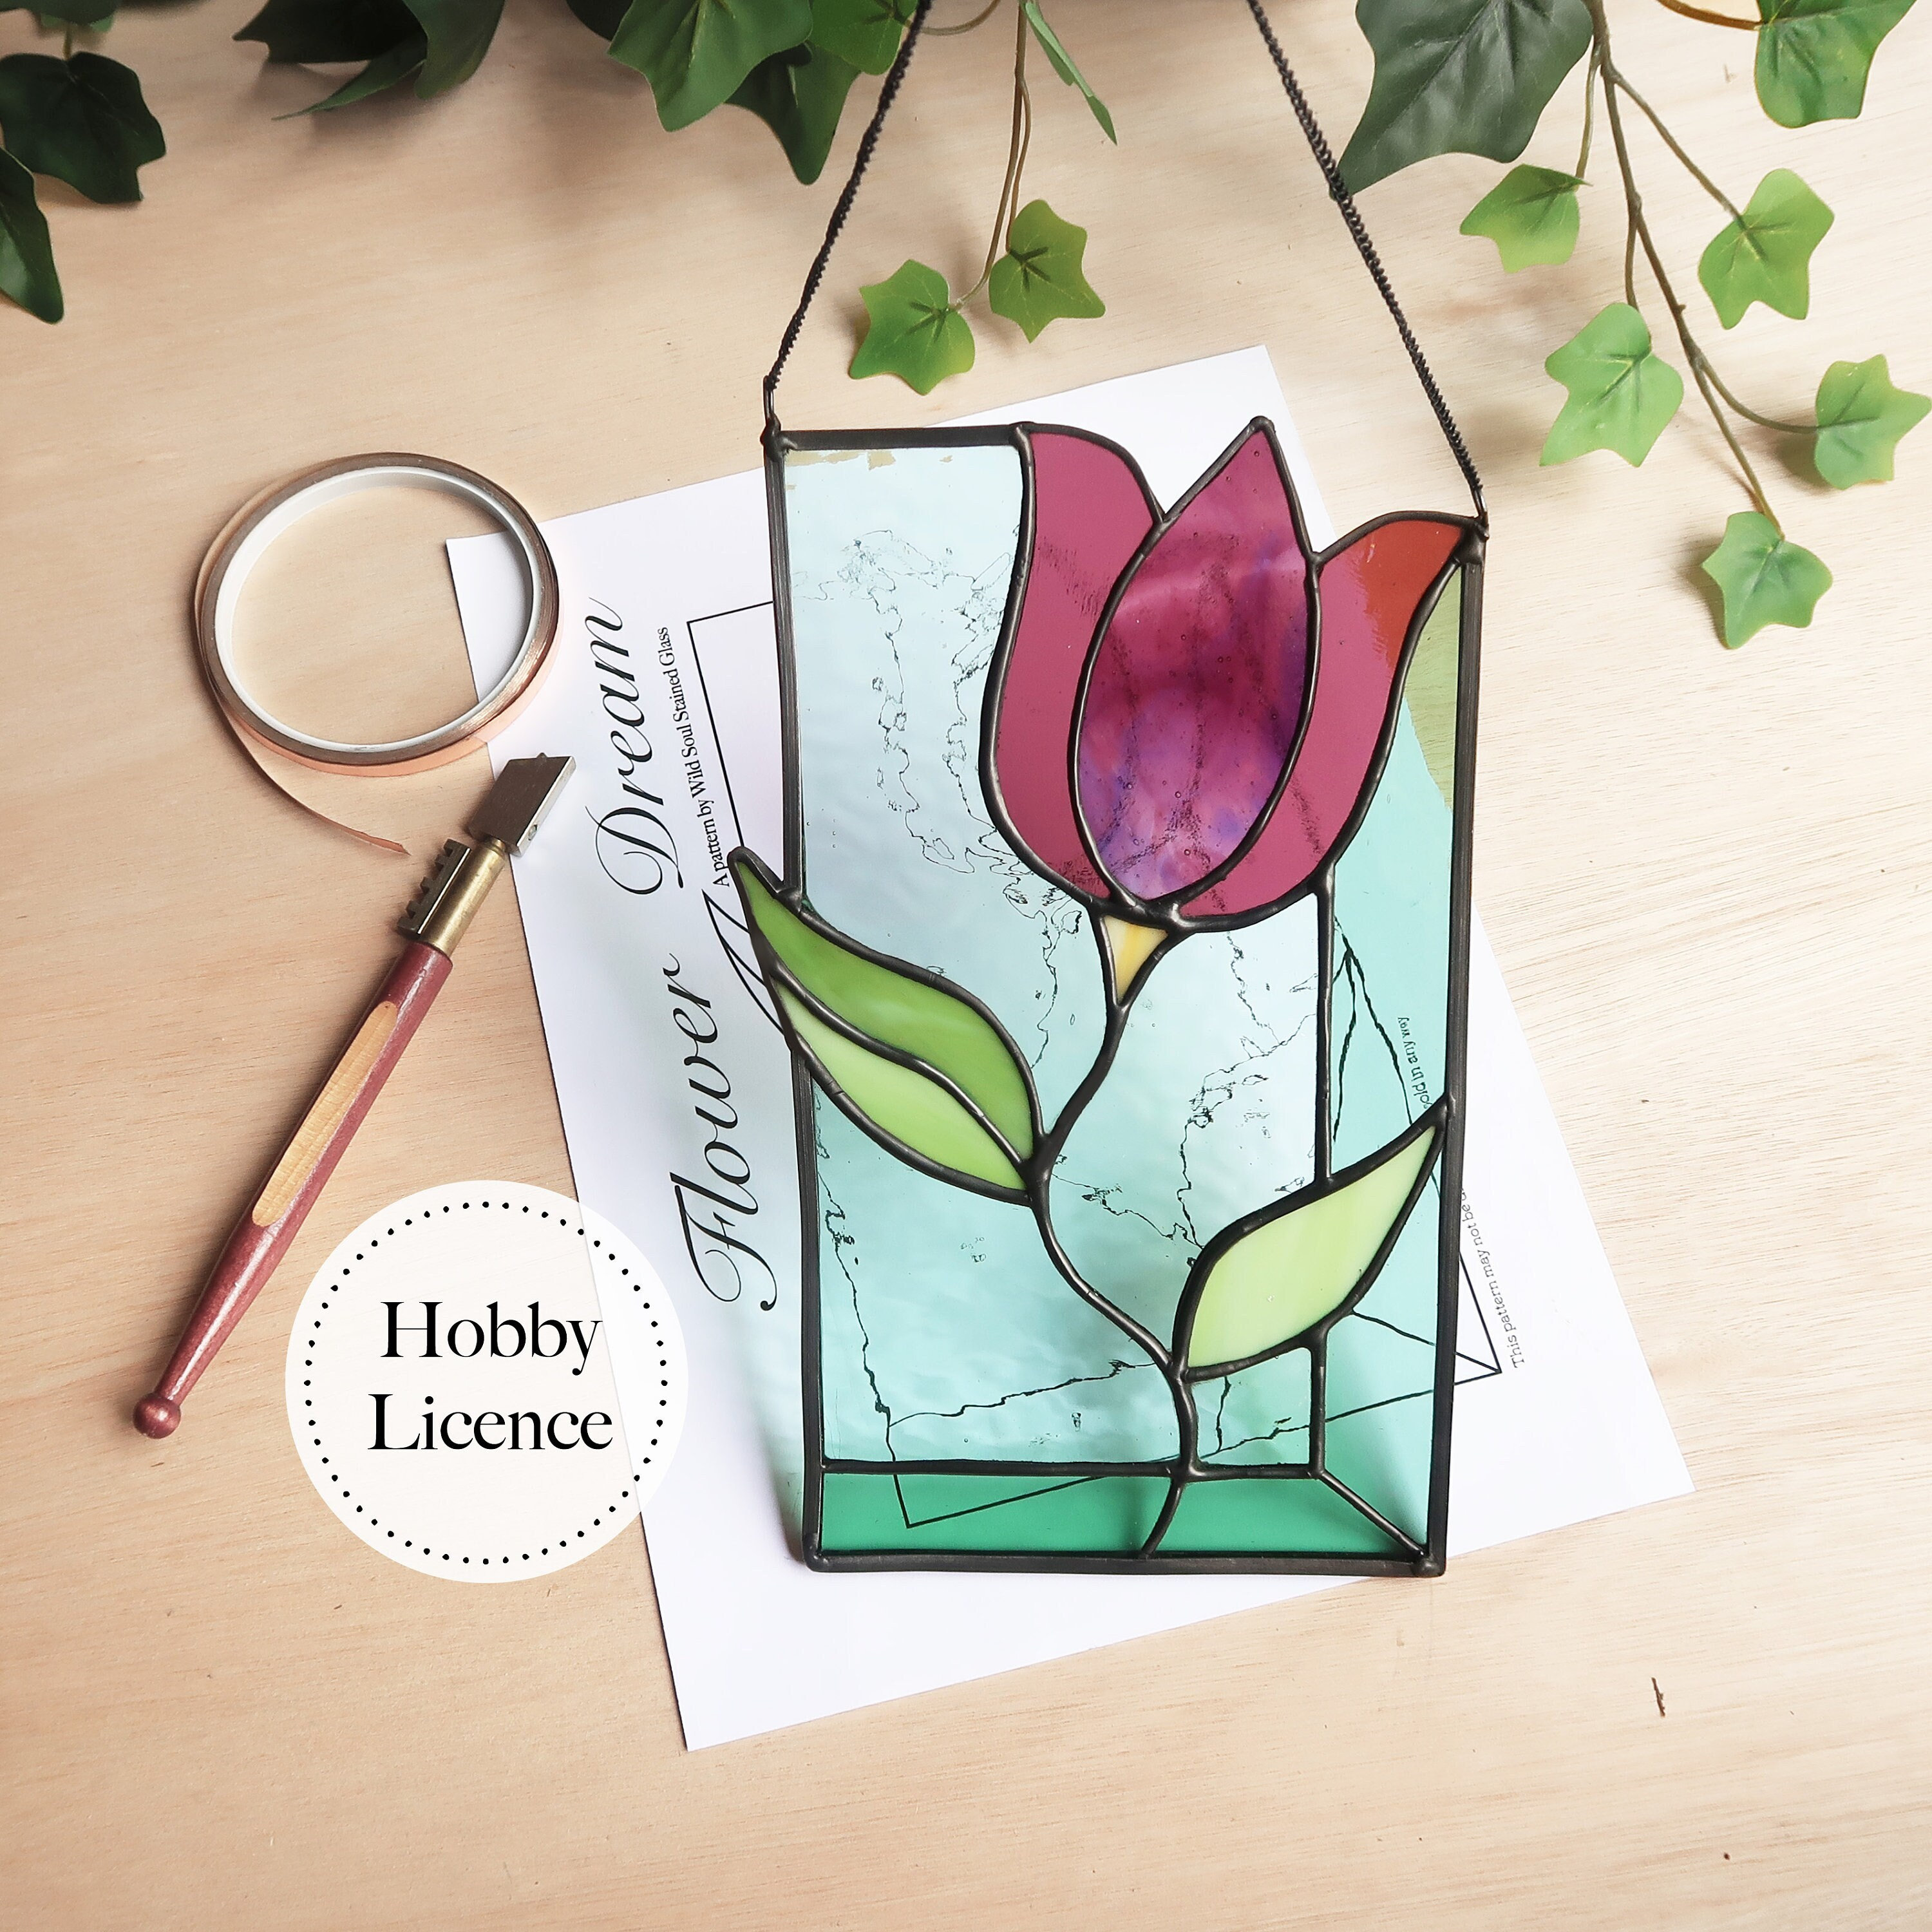
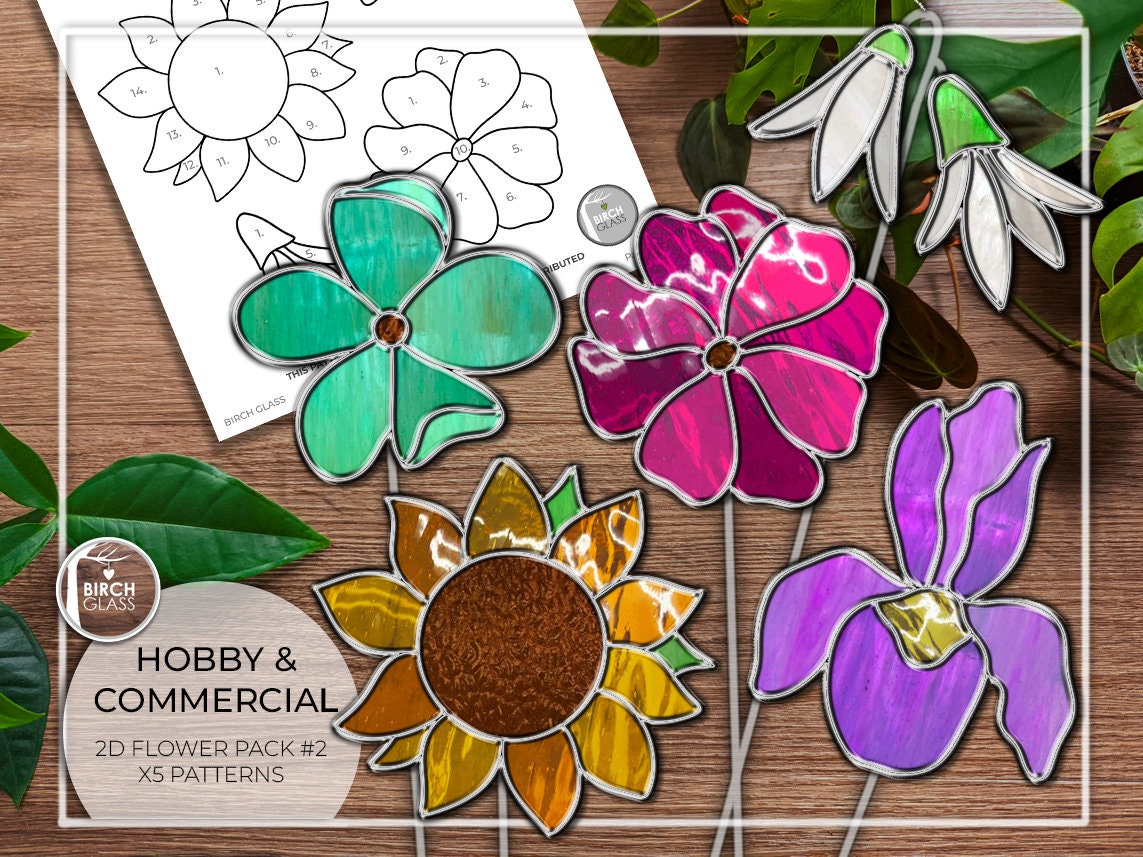
The first step is to select a flower design that appeals to you. Simple designs with clean lines are ideal for beginners. Consider flowers like daisies, sunflowers, or tulips. You can find free patterns online, or create your own. Remember to keep the design relatively small and avoid intricate details for your first project.

Gathering Your Supplies
Before you begin, gather all the necessary materials. This will make the process smoother and more enjoyable. Here’s a list of essential supplies:
Stained Glass: Choose a variety of colors that complement your chosen flower. Opaque glass is generally easier to work with for beginners. You’ll need pieces for the petals, stem, and any other elements of your design.
Preparing Your Pattern

Once you have your chosen design, print it out and cut out each individual piece. These cut-out pieces will serve as your templates for cutting the glass.
Cutting the Glass
This is where the real fun begins! Remember to always wear safety glasses.
1. Trace the Pattern: Place a pattern piece on the chosen glass and trace around it with your marker.
2. Score the Glass: Using the glass cutter, score along the traced line. Apply firm, even pressure. Listen for a smooth, consistent scoring sound. Avoid scoring multiple times in the same place.
3. Break the Glass: Align the score line with the jaws of the running pliers and apply gentle pressure until the glass breaks cleanly. For larger pieces, you may need to tap lightly along the score line to encourage the break.
4. Shape the Edges: Use grozing pliers to smooth any rough edges and refine the shape of the glass pieces.

Foiling the Glass
This step involves wrapping the edges of each glass piece with copper foil.
1. Clean the Glass: Ensure the edges of your glass pieces are clean and free of debris.
2. Apply the Foil: Carefully wrap the copper foil around the edge of each glass piece, ensuring it is centered and even. Overlap the foil slightly on the back of the glass.
3. Burnish the Foil: Use the foil burnisher to smooth the foil and ensure it adheres tightly to the glass. Pay particular attention to the edges.
Soldering the Pieces Together
Now you’re ready to assemble your flower!
1. Apply Flux: Apply a small amount of flux to the foiled edges of the glass pieces you’ll be joining.
2. Tack Solder: Use the soldering iron to place small “tacks” of solder at the points where the pieces meet. This will hold them in place.
3. Solder the Seams: Carefully run the soldering iron along the seams, melting the solder and creating a smooth, even bead. Work slowly and allow the solder to flow.
4. Clean the Solder: After soldering, you can clean the piece with a glass cleaner to remove any flux residue.
Adding the Finishing Touches
Once your flower is assembled, you can add some finishing touches.
Patina: Applying a patina to the solder lines will change their color, giving your flower a different look. Black patina is a popular choice.
Tips for Success
Practice Makes Perfect: Don’t be discouraged if your first attempt isn’t perfect. Stained glass takes practice.
Exploring Different Flower Types
Once you’ve mastered the basics, you can experiment with different flower types and designs.
Roses: These elegant flowers require a bit more skill but are well worth the effort.
Beyond the Basics
As you gain experience, you can explore more advanced techniques, such as:
Working with different types of glass: Explore textured glass, iridescent glass, and other specialty glass.
Enjoying Your Creations
Once you’ve completed your stained glass flowers, you can display them in a variety of ways.
Hang them in a window: The light will shine through the glass, creating a beautiful display.
Creating stained glass flowers is a rewarding and enjoyable hobby. With a little practice and patience, you can create beautiful works of art that will bring joy for years to come. So, gather your supplies, choose your design, and embark on your stained glass flower journey today!
easy stained glass flowers
